
Rig Bake › Guides › RigBake and Blender: auto-rig first, fine-tune after
RigBake and Blender: auto-rig first, fine-tune after
Let RigBake build the skeleton and the skin weights in your browser, then open the character in Blender and spend your time on the part that is yours: polish, controls and animation.
Auto-rig your character, freeNo sign-up and no upload. Your model stays on your machine.
RigBake is the 3D character toolkit at rigbake.com. It runs in a browser tab, so there is nothing to install, and it pairs naturally with Blender: RigBake does the rigging, Blender does the finishing.
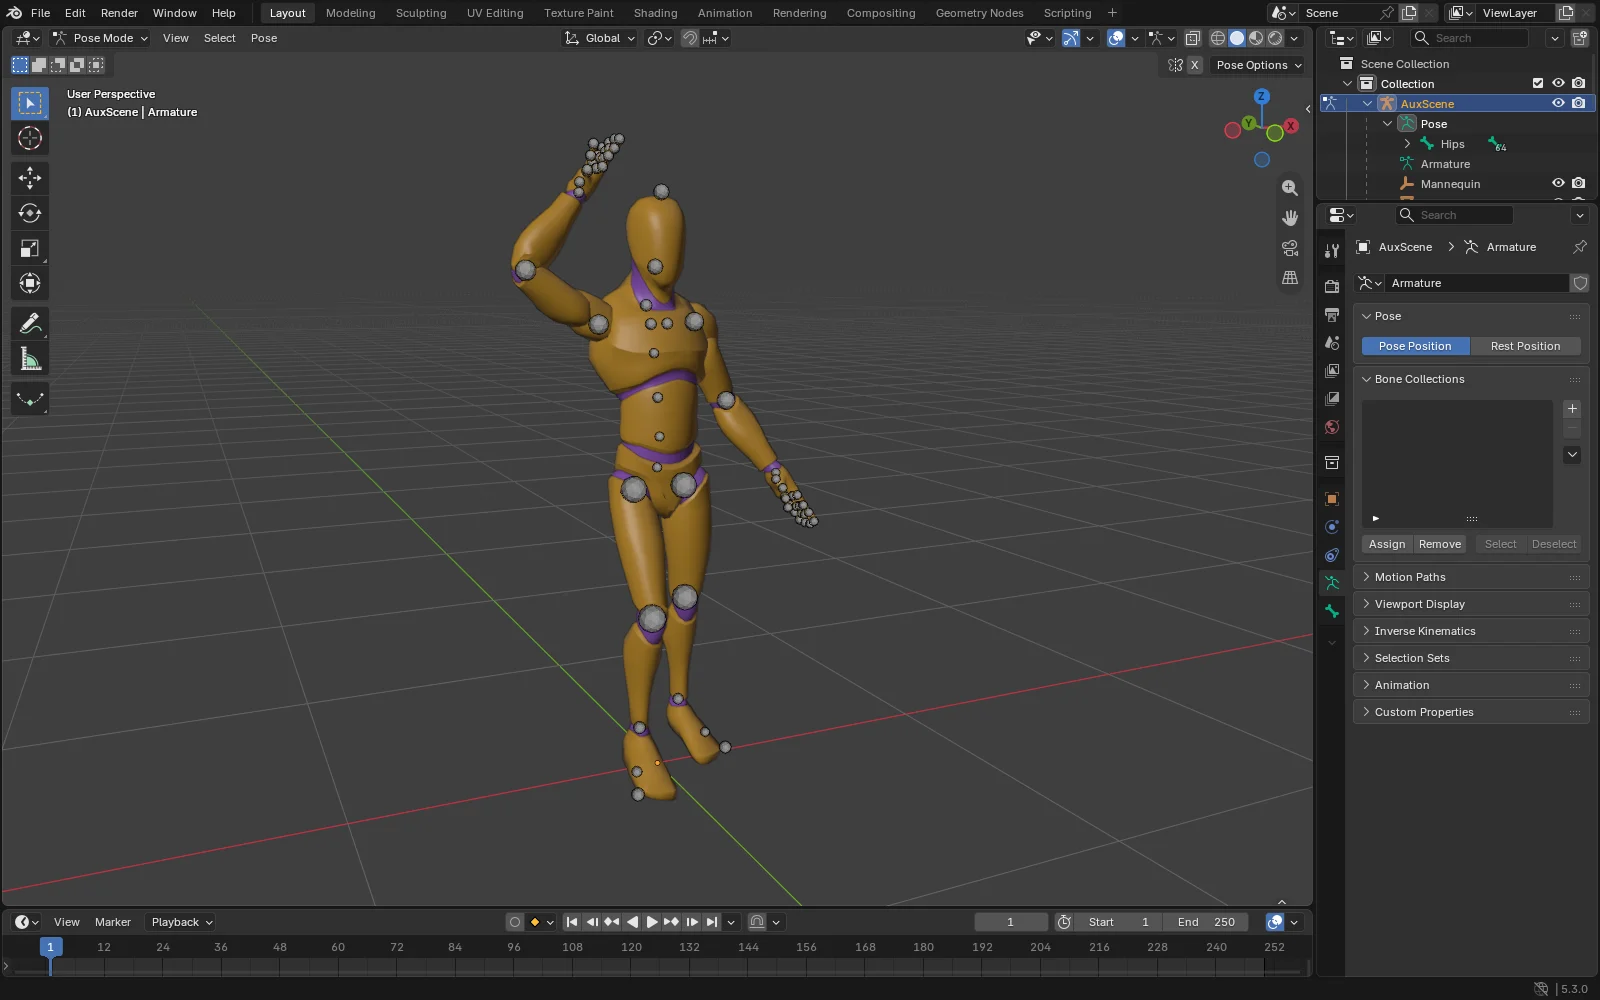
Rigging a character by hand in Blender means placing every joint, binding the mesh and then painting weights until the shoulders and hips bend the way they should. It is the longest stretch between a finished model and a first pose. The RigBake auto-rigger covers that stretch in a few minutes: drop the character in and you get back a GLB with a full humanoid skeleton and skin weights that hold up when the model moves.
That file opens in Blender as an ordinary armature with an ordinary skinned mesh. Everything Blender is good at is still yours from there: touching up a weight, adding IK controls, keyframing, rendering. This page walks the round trip.
How to do it
- Get the character out of Blender. If the model lives in a .blend, select it and use File > Export > glTF 2.0. Choose glTF Binary (.glb) as the format, tick Selected Objects under Include, and tick Apply Modifiers under Data > Mesh so that a Mirror or Subdivision modifier becomes part of the exported mesh. The character should be standing in an A or T pose and facing forward. If your model came straight from an AI generator or a scan, use that file as it is.
- Auto-rig it in RigBake. Open the auto-rig page and drop the file in. It is read in your browser tab, with no upload; rigging uses a free account. Switch on fingers if the hands have five clearly separated digits, press "Rig it" and download the rigged GLB.
- Settle the joints before you leave. If a shoulder or a knee sits slightly off, open the result in the editor, drag the joint to where it belongs on the front view of your character, and the skin weights follow it. That is quicker than moving a bone in Blender and repainting around it.
- Import the GLB into Blender. In Blender use File > Import > glTF 2.0 and pick the rigged file. The character arrives upright, as an armature with the mesh already bound to it. Leave Bone Dir on its default if the character will be exported again later.
- Carry on in Blender. Touch up weights in Weight Paint mode, add IK or your own control bones, pose and keyframe. When the character is finished, export it from Blender to your engine as glTF or FBX the way you normally would.
What arrives in Blender
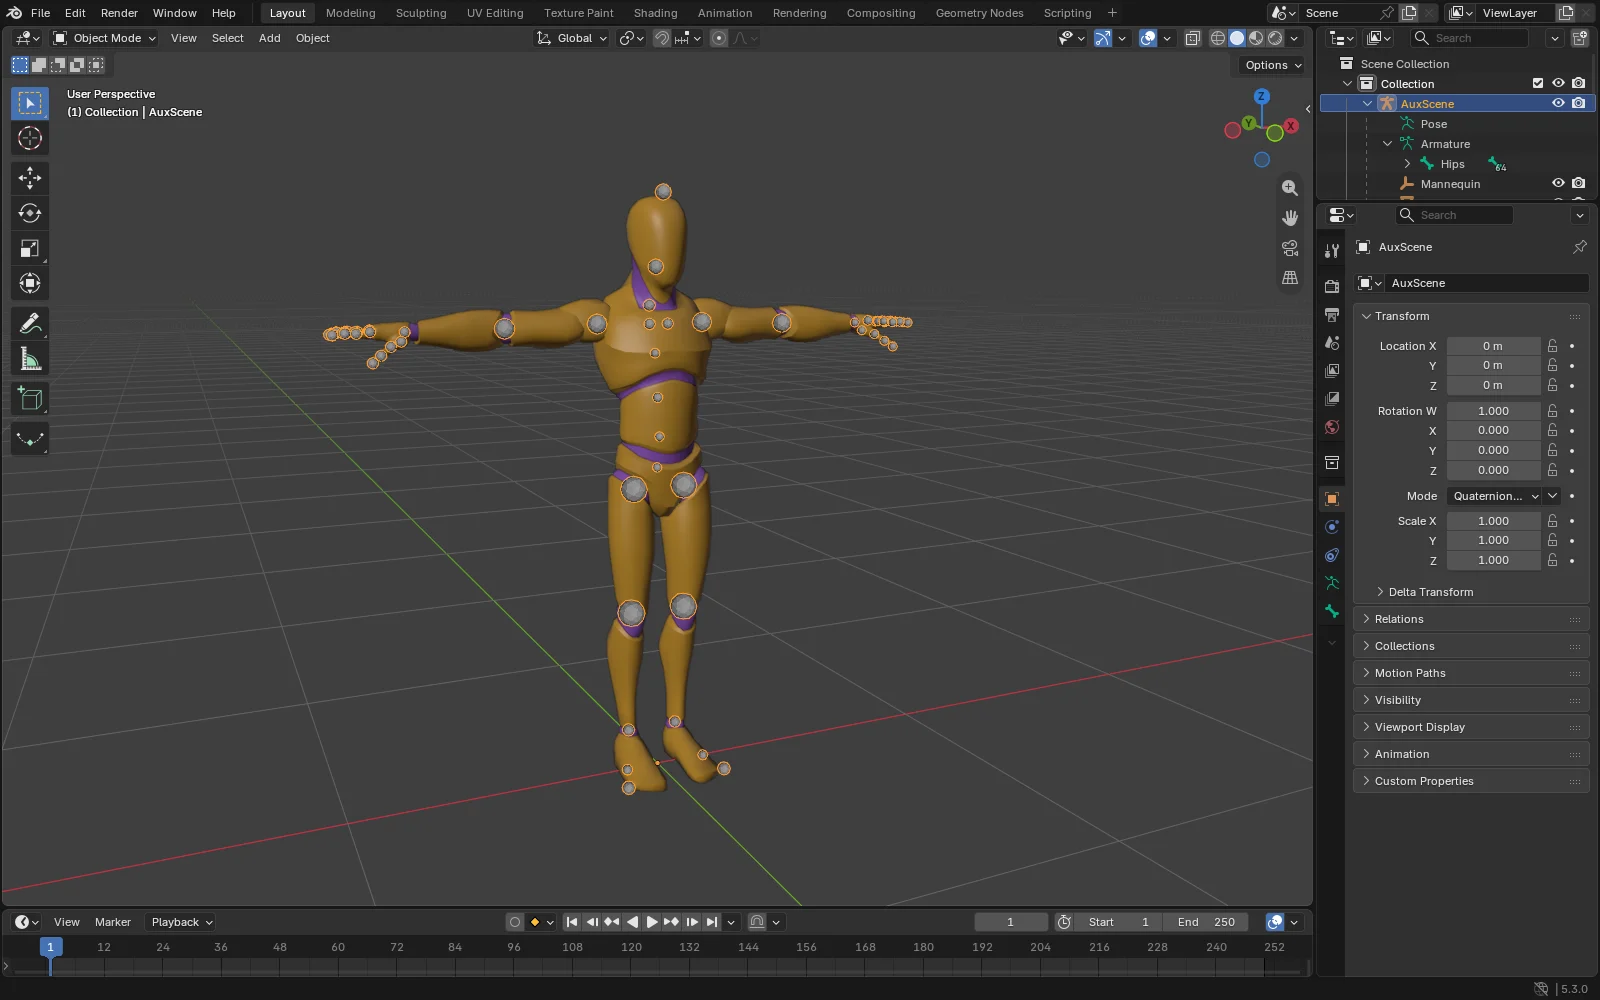
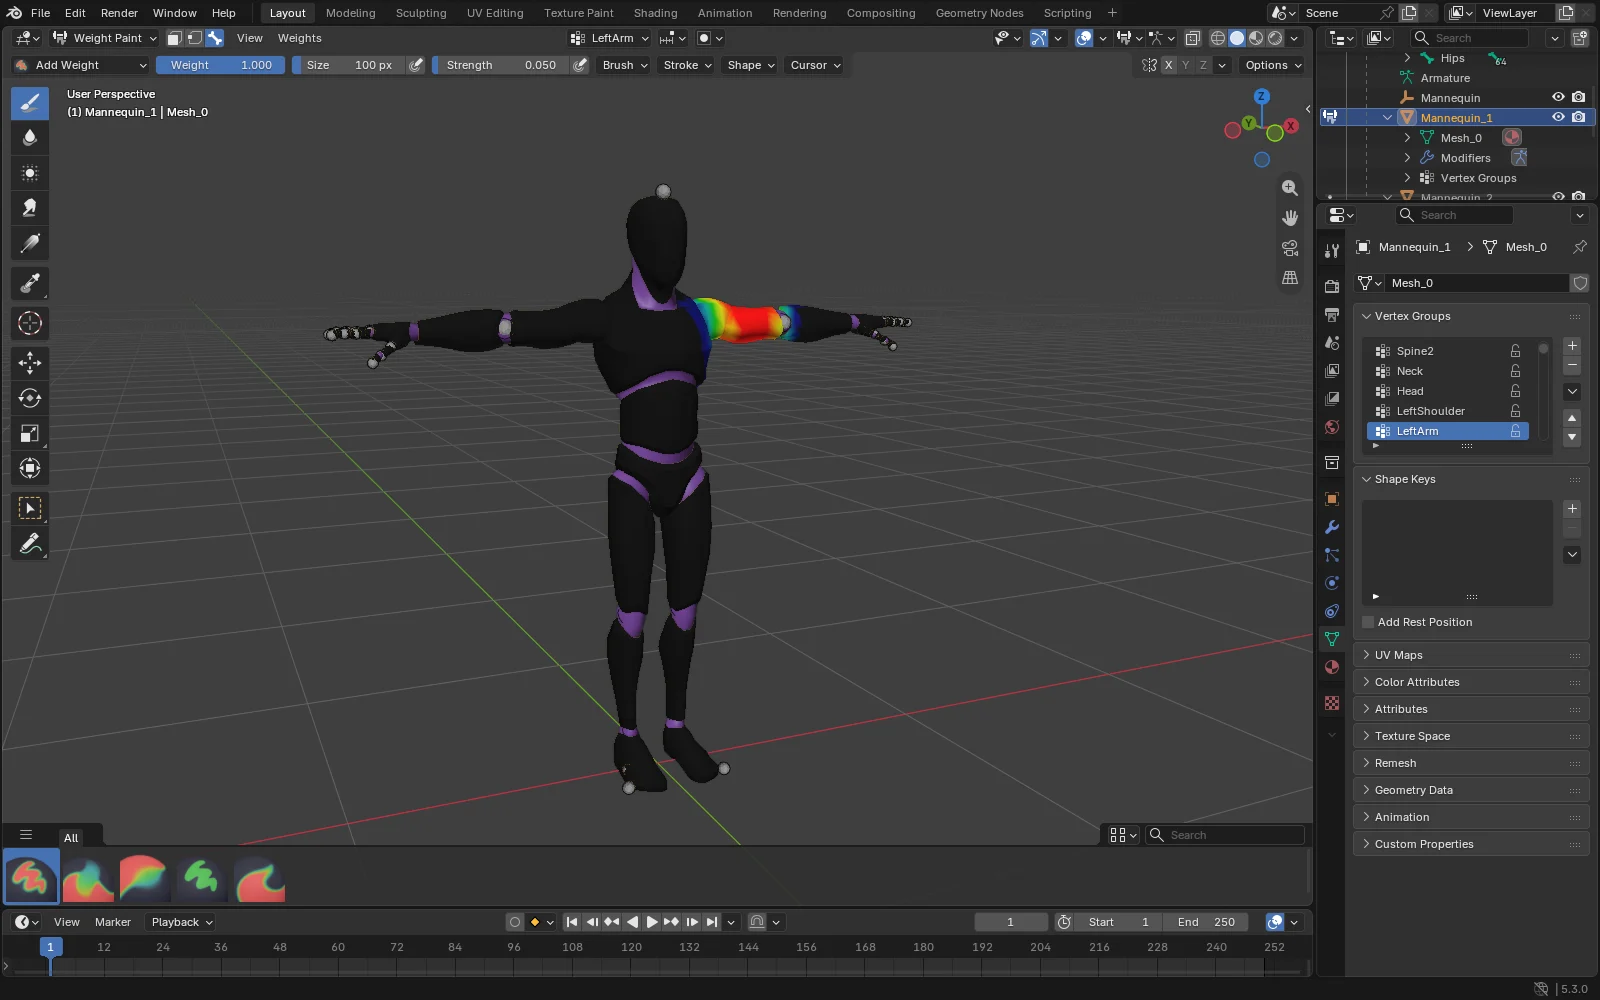
One armature and your mesh, joined by an Armature modifier. The mesh carries one vertex group per bone, named after the bone, which is exactly what Weight Paint mode works on. From the moment it is imported it is a regular Blender rig, and every Blender tool treats it as one.
The skeleton is a standard humanoid: hips, three spine joints, neck, head, collarbones, arms, hands, legs, feet and toes, plus three bones per finger if you asked for them. Left and right bones come in named pairs such as LeftArm and RightArm. Blender pairs them by name, so its mirror tools, such as pasting a flipped pose, work straight away. The names follow the Mixamo convention, which Unity, Godot and Unreal all recognise.
The bones are plain deform bones. That is the clean base a control rig, a set of IK constraints or a game engine expects, and you decide what goes on top of it.
Bones imported from a GLB can look different from an armature drawn by hand, because the file stores joints and Blender chooses how to draw the bone between them. The Bone Dir option in the import dialog controls that drawing. The joints themselves sit exactly where RigBake placed them.
Fine-tuning that is worth doing in Blender
- Weights. Select the armature, then the mesh, and switch to Weight Paint mode. Pick a bone and paint. The usual candidates are the places only you know about: a loose sleeve, a belt, a strand of hair that should follow the head.
- Controls. Add an Inverse Kinematics constraint to a forearm or a shin to get hand and foot targets, or build the control bones you like to animate with. The deform skeleton underneath stays as it is.
- Animation. Pose and keyframe as usual. If you added clips in RigBake, each one arrives as an action: the first plays straight away and the others wait on tracks in the Nonlinear Animation editor, where the star icon solos the one you want to see.
- More modelling. If you plan to keep editing the mesh, tick Merge Vertices in the import dialog so that vertices the file format stores separately are joined again where they can be.
- Export. Going on to Godot, Unity or Unreal? Blender's glTF exporter can export deformation bones only, which keeps your control bones out of the game file.
Keeping the materials and modifiers of your .blend
A GLB carries the mesh, its UVs, its image textures and standard materials. Procedural materials and live modifiers are Blender features, and they stay in your .blend. To keep them, bring the new rig to your original mesh.
Import the rigged GLB into the same scene so the two meshes sit in the same place. Add a Data Transfer modifier to your original mesh with the rigged mesh as its source, switch on Vertex Data with Vertex Groups, choose Nearest Face Interpolated as the mapping, press Generate Data Layers and apply the modifier. Then give the original an Armature modifier that points at the imported skeleton. Your original mesh now follows the new rig with every material and modifier it had before.
And back again: from Blender to RigBake
The trip works in the other direction too. A character rigged and animated in Blender and exported as a GLB opens in the RigBake editor with its clips. There you can trim and tidy the clips, add moves from the animation library, turn a phone video into an animation for it, fingers included, or bake the whole set into sprite sheets for a 2D game.
Frequently asked questions
What is RigBake?
RigBake is a browser-based toolkit for 3D characters at rigbake.com: auto-rigging, animation from video, an animation library, clip editing, mesh tools and sprite sheet baking. It runs in a browser tab, with nothing to install.
Does RigBake work with Blender?
Yes. RigBake writes standard GLB files, and Blender reads and writes GLB out of the box. Rig the character in RigBake, import the GLB into Blender and continue there. A GLB exported from Blender opens in RigBake the same way.
Which Blender versions open the rigged file?
Every current release. The glTF importer ships with Blender, so the file opens from the File > Import menu straight away.
Is it free?
Rigging is free with a free account, and the same account adds the five ready-made starter animations to the rigged character.
Can I still change the weights after importing into Blender?
Yes. The weights arrive as ordinary vertex groups, one per bone, so Weight Paint mode and every other Blender weight tool work on them just as they would on a rig made by hand.
A joint is slightly off. Where should I fix it?
In RigBake, before you export. Drag the joint on the front view of your character in the editor and the skin weights are worked out again for the new position.
What kind of character does the auto-rigger expect?
A standing humanoid in an A or T pose, facing forward: two arms, two legs, one head. Clothing, hair and accessories that are part of the character are rigged along with it.